
Dungeon - Dzemael Darkhold
The Hold consists of two maps with a simple objective: complete the entire run and defeat the monsters within.
We will label the first picture as MAP A, and the second as MAP B.
Mobs to note within are Hyppogryphs, Skeletons, Grouped Orobon and Moles, Ghosts, Imperial Soldiers, One Dragon.
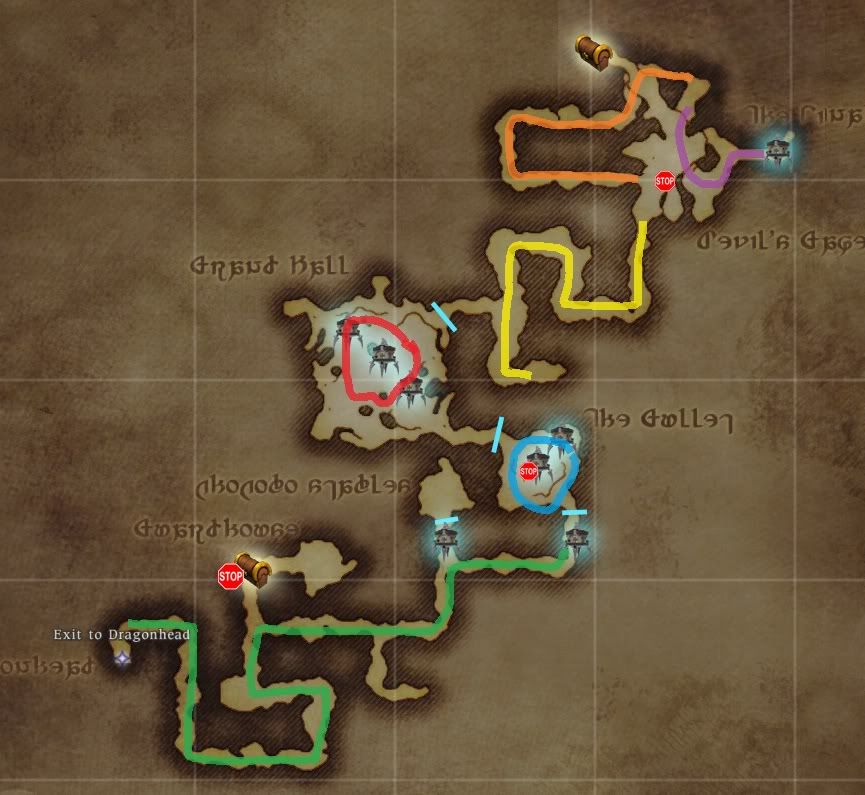
*MAP A*
Each colored path that I have manually drawn into MAP A is the repeated patrol path that the All Seeing Eye Ahriman takes. Each lantern is a gate that characters need to stand in, in order for the next door to open. I will elaborate on the lanterns soon.
Notes on the Ahriman: He is completely invulnerable to attack and approximately every 8 to 12 seconds he stops and performs a massively dangerous AoE attack that hits characters for 800 to 1300 points of damage. **Observation** His Aoe does not hit characters that are on high or low elevations, still recommended to not be in his range when he uses his ability. Also note that on your small map, the Ahriman appears as a large swirly purple dot.
The objective of the first map: get through as quickly as possible. **Observation** Making it to and activating each gate/lantern despawns all mobs within the area you are in, then activates the next 'wave' of mobs in the following room. Therefore: if a group runs from the beginning of MAP A all the way to the main gate for the next room and activates it, all the mobs behind them (with the exception of the All Seeing Eye) despawn. It sounds very difficult to do, but with 2 or 3 mages with sleep spells it can be done if coordinated correctly. There are reports of people getting through MAP A in 10 to 15 minutes!
I am still trying to figure out the purpose of the first gate: I believe it is an example of what you should be doing to open the doors. However, there is no significance to attacking the enemies within this small area other than to waste time.
The difficulty does increase in the next two rooms: The second area has two portals/lanterns to touch, the third has three.
**noted** all monsters do have a certain distance that they will travel before 'returning back to their territory'.
After getting through the main rooms into the final series of corridors on MAP A. There is a portal that is activated to travel to MAP B (Far North Eastern Side). IF the group makes it to that portal/gate, all mobs within MAP A are completely despawned and the All Seeing Eye stops moving and stops performing its attack. The final area there is also the most dangerous: There are grouped Orobon and Skeletons within a small space along with a very tight patrol area by the All Seeing Eye.
After doing a run with the Eorzean Guard: A well equipped and buffed Gladiator can run in pulling a majority of the mobs and distract them long enough for everyone to get to the portal and activate it.
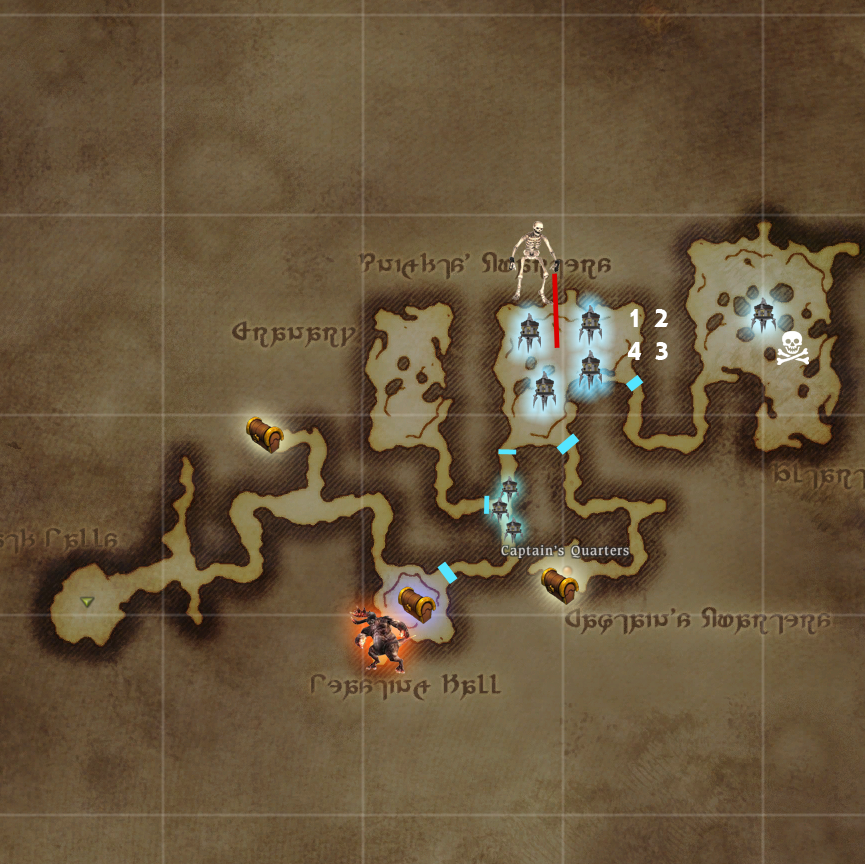
**More data to come on Map B**
Powered By
